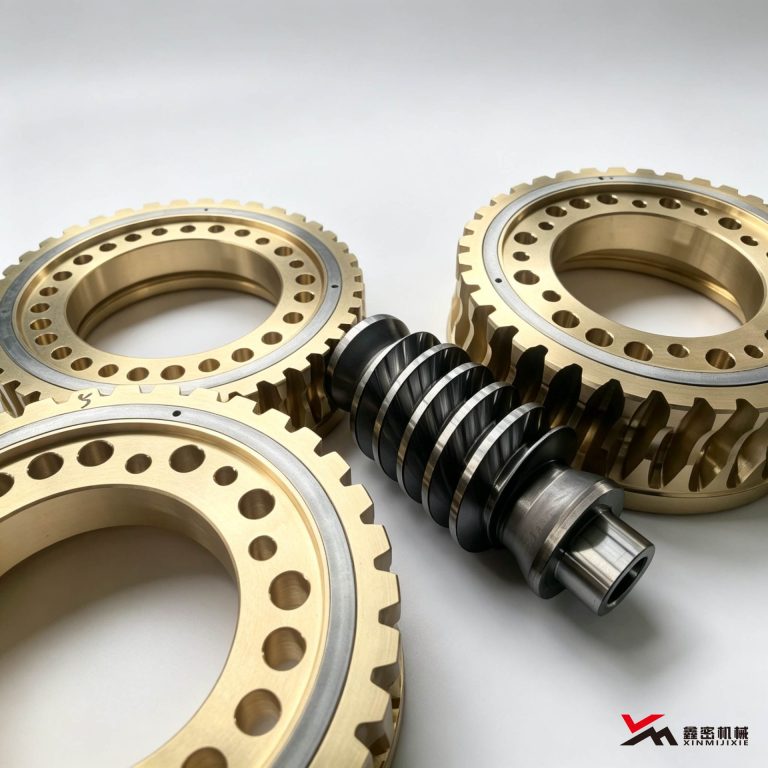
Reducer installation quality directly affects later running condition. Misalignment or inadequate lubrication can produce abnormal noise, overheating or even damage in a short time. This article introduces the key steps of reducer installation and commissioning.
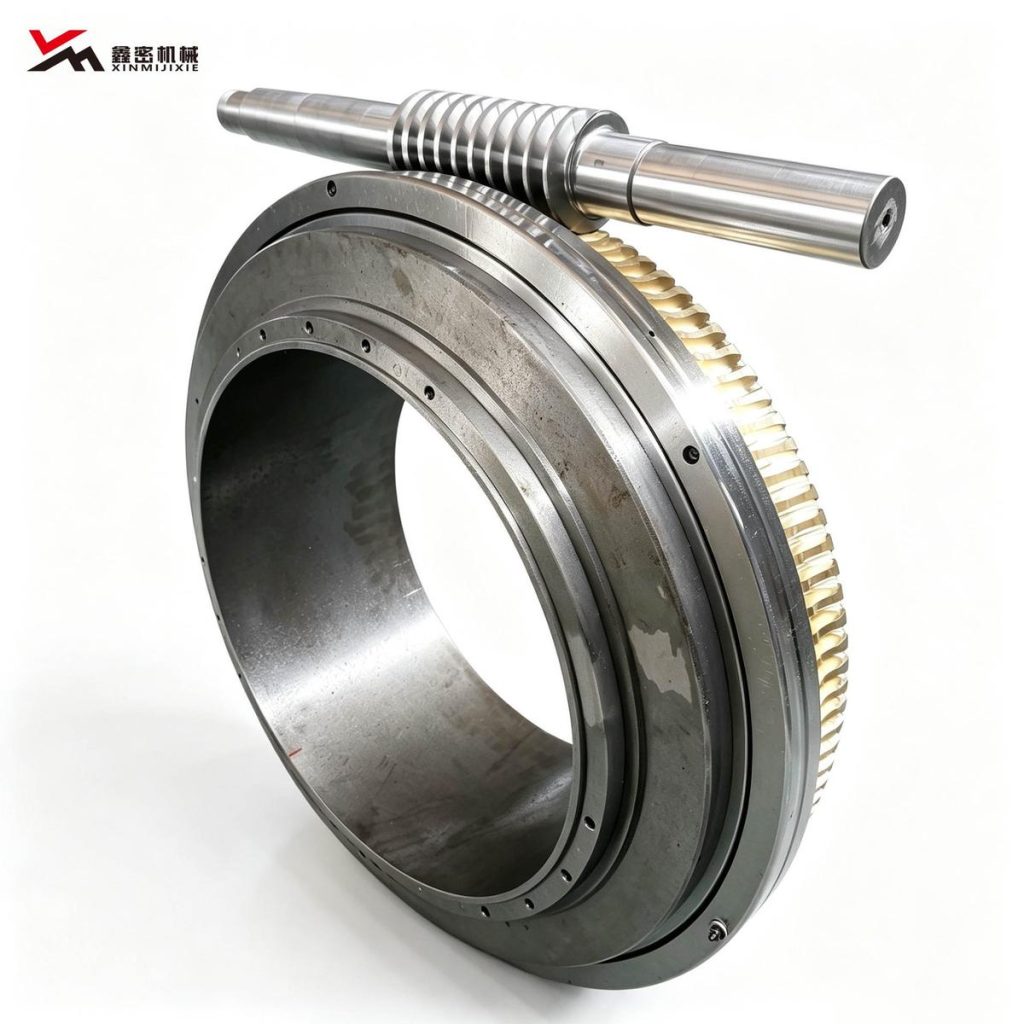
1. Pre-installation checks
– Verify model, ratio and mounting style match the design
– Inspect for shipping damage and loose fasteners
– Confirm input and output shafts turn freely without binding
– Check that lubricant is filled (units may ship dry)
2. Alignment
When the reducer is coupled to the motor and load, shaft alignment must be assured. Excessive offset causes abnormal coupling wear, bearing damage and higher vibration.
Alignment method:
1. Fix the reducer and roughly position the motor.
2. Measure radial and face runout with a dial indicator or laser aligner.
3. Shim the motor until deviation is within limits.
4. Torque the bolts and recheck.
3. Lubrication requirements
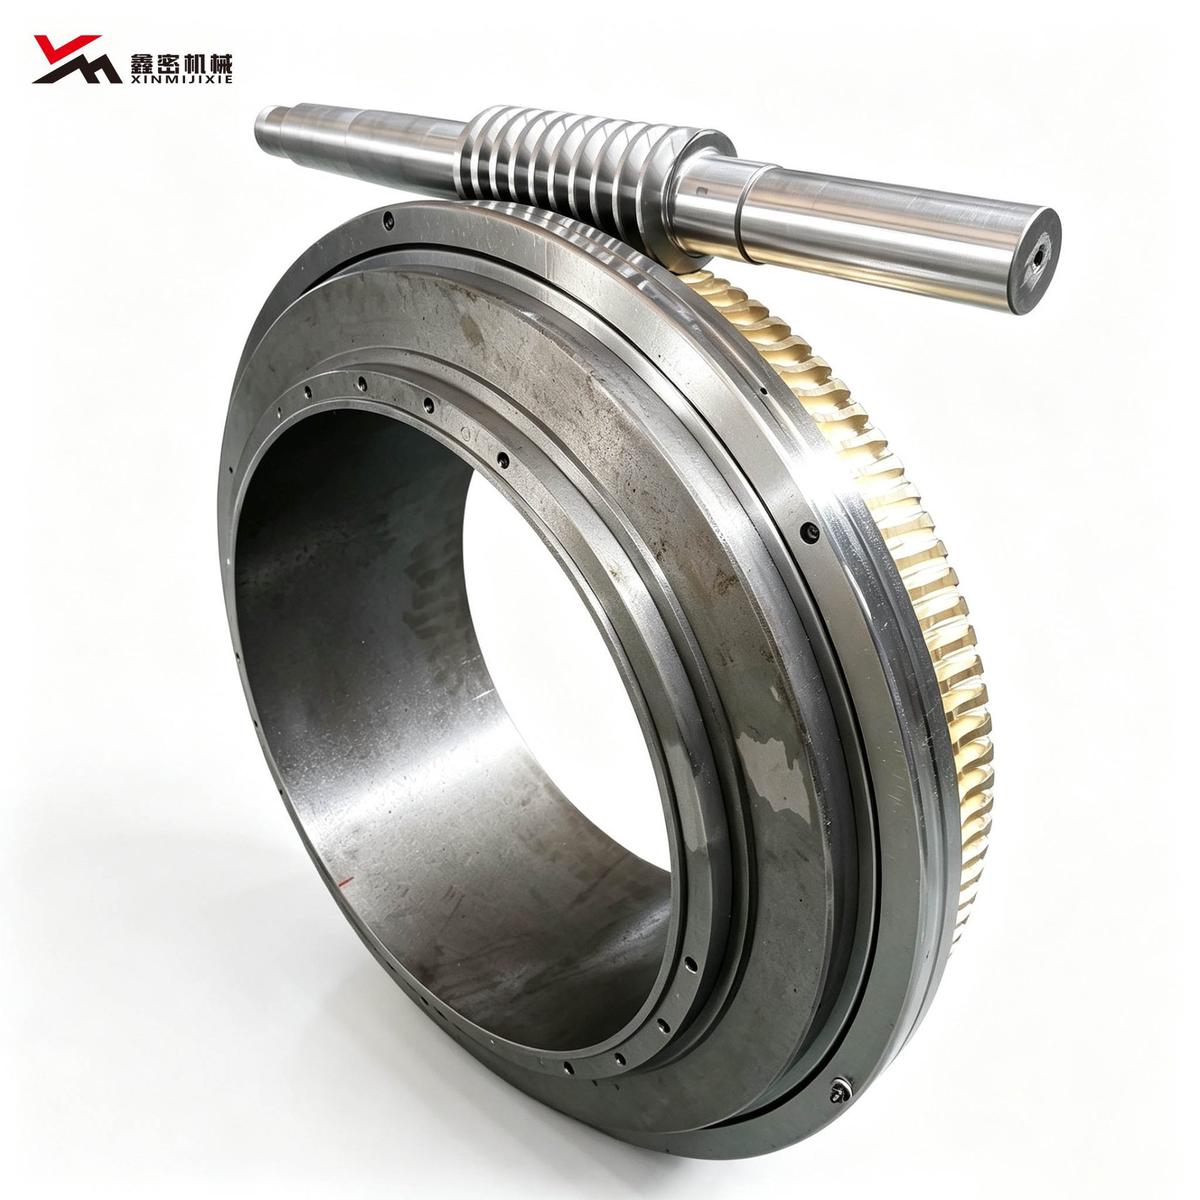
Use the oil grade specified in the manual. Typically the worm runs in an oil bath; the oil level should cover the worm tooth height. Change oil after the first 300 hours on a new reducer, then every 3000–5000 hours.
Note: Do not mix different oil grades, and do not overfill — otherwise heat and leakage increase.
4. Trial run
After installation, run no-load for 1–2 hours and check:
– Smooth sound without abnormal noise
– Housing temperature rise (generally not over 40°C above ambient)
– No oil leakage
– Vibration within allowable range
After a successful no-load run, load gradually while observing continuously. Stop immediately if anything is abnormal.
Dezhou Xinmi Machinery supplies custom worm-gear reducer parts and replacement service from drawings or samples.